Tip & instructions: Diamond Paintings on the wall in no time at all
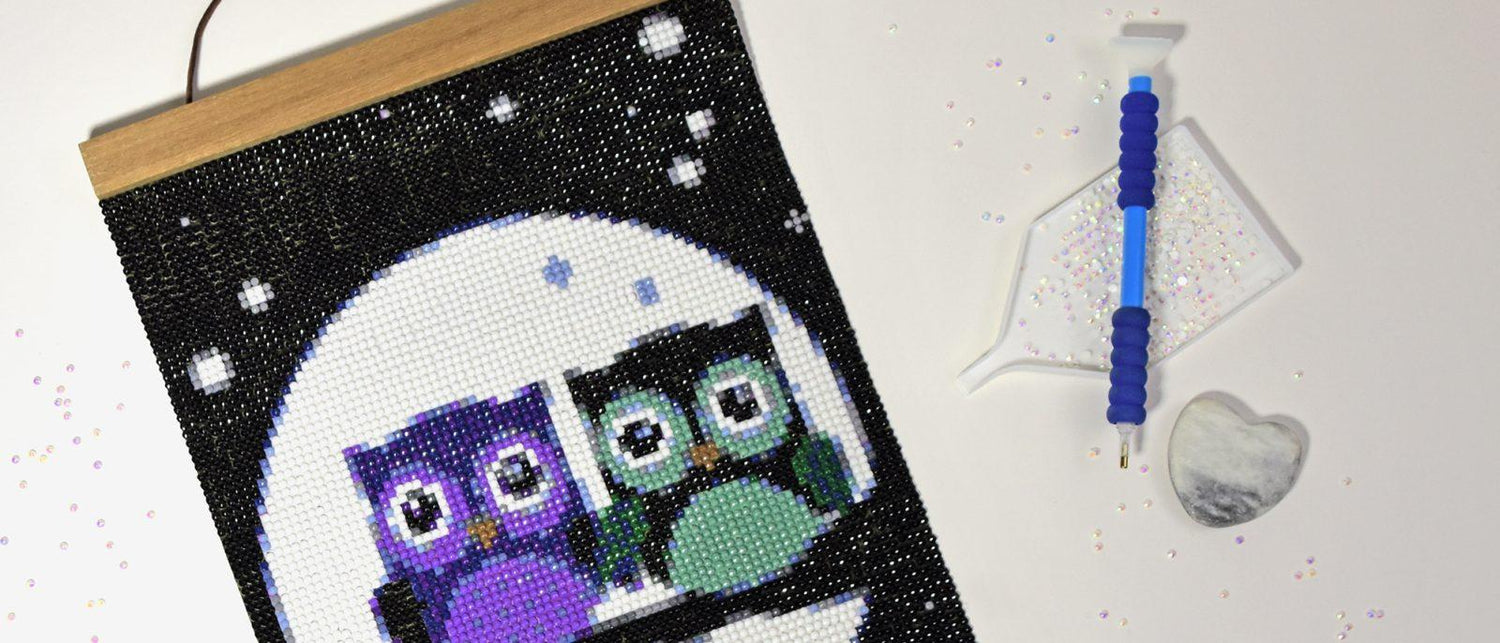
Your new Diamond Painting is ready and you've already chosen a nice spot for it on the wall? But you're put off by finding a suitable frame and framing it? Then we have a particularly simple and flexible way for you to hang your Diamond Painting. With so-called poster strips or magnetic strips. These are attached to the top and bottom of the picture and hold the Diamond Painting in place with strong magnets. This way, your diamond painting can be hung on the wall in a flash and without the hassle of framing. In this new blog post, we'll show you how uncomplicated, flexible and simple this method is and how it will have your Diamond Painting artwork hanging on a wall in your home in no time at all.quick DIY framing: Diamond Painting with magnetic wooden strips
Diamond painting is not only a relaxing and creative pastime, but you can also use the resulting glittering works of art to create a uniquely beautiful decoration for your walls and decorate your home. The result of the finished diamond pictures is often so impressive that you don't just want to stow them away in drawers, folders or boxes, but would rather display them in a suitable place in your home. Whether in the living room, kitchen or hallway, your self-made diamond painting will create a glittering highlight anywhere. An original and stylish way to frame your diamond painting that requires hardly any manual skills or time is to use magnetic wooden strips. In this short DIY guide, we'll show you what you need and the best way to create the perfect frame for your artwork in no time at all.
Materials you'll need:
1. your finished Diamond Painting 2. magnetic wooden strips / poster strips (depending on the width of your painting) 3. scissors or cutter 4. measuring tape or rulerStep-by-step instructions - Step 1: Preparing the diamond painting
Make sure that the stones on your canvas are all well and firmly glued to the canvas. You can fix them again with the help of a Diamond Painting Roller. If you like, you can also seal your Diamond Painting first before framing it. Then use scissors or a cutter to neatly remove the two side edges of the canvas along the outer row of stones. If you are using a cutter, you can also use a ruler to make the cut as straight as possible.
Step 2: Measuring the diamond painting
Now use a tape measure or ruler to determine the exact width of your diamond painting. This will allow you to determine the correct length of magnetic wooden strips you need for your project. These strips are available to buy in many different lengths. You can either choose the exact same length as the width of your Diamond Painting motif so that they are flush with your Diamond Painting, or you can choose a length that is a little (approx. two to three centimetres) longer than the width of your Diamond Painting so that the wooden strips protrude a little on the left and right.
Step 3: Selecting the magnetic wooden strips
Choose wooden strips that match the dimensions of your painting. As already mentioned, these strips are available in different lengths and can be purchased to match the width of your artwork. They are also available in different types of wood or painted in different colors. You can choose them to match your interior, your taste or the colors of your Diamond Painting. You can find these poster strips or magnetic strips in local furniture stores or online.Step 4: Cut the top and bottom edges to size
Place the two pairs of magnetic wooden strips on the top and bottom edges of your painting and check once again that the length you have purchased matches the width of the diamond painting. The white canvas edge above and below the diamond painting that has not been removed is still wider than the standard wooden strips and must be shortened in the next step to match the dimensions of the strips. To do this, measure the height of the slats and adjust the edge of the canvas to the same size. It is best to cut off 2-4 mm more so that the edge of the canvas is completely covered by the slats at the end.
Step 5: Fastening the wooden slats
The two individual pairs of slats each consist of an upper and a lower slat, which are connected to each other using strong magnets. These are now separated from each other so that they can then be used to enclose the edges of the canvas. To do this, place the lower part behind the shortened canvas edge, align it in the middle by checking with the measuring tape that there is the same amount of overhang on the left and right or, if you have chosen a flush choice, align it flush on the left and right. Then place the top strip over the edge of the canvas and the magnets ensure that the pairs of strips, including the edge of the canvas, are now firmly attached to each other. Carry out this step on both the bottom and top edges, making sure that the pair of strips with an integrated hanging cord is used on the top edge of the canvas.
Step 6: Hanging up
Once the frame strips have been easily and simply attached at the top and bottom using the magnets, firmly enclosing both edges of the canvas, your Diamond Painting artwork is ready to be hung. This is very easy with the help of the cord attached to the upper pair of strips. With this type of hanging, a single nail is all you need to hang your Diamond Painting on the wall.


Leave a comment
This site is protected by hCaptcha and the hCaptcha Privacy Policy and Terms of Service apply.