Step by step guide to Diamond Painting.
As every Carat Art Diamond Painting set comes with everything you need to get started with 5D diamond painting right away, your creative and relaxing break can begin as soon as your Diamond Painting arrives. All you have to do is choose one of our beautiful Diamond Painting sets and you have everything you need to try out this relaxing DIY hobby.
And that's how easy it is to create your own personal Diamond Painting DIY artwork with our Diamond Painting instructions:
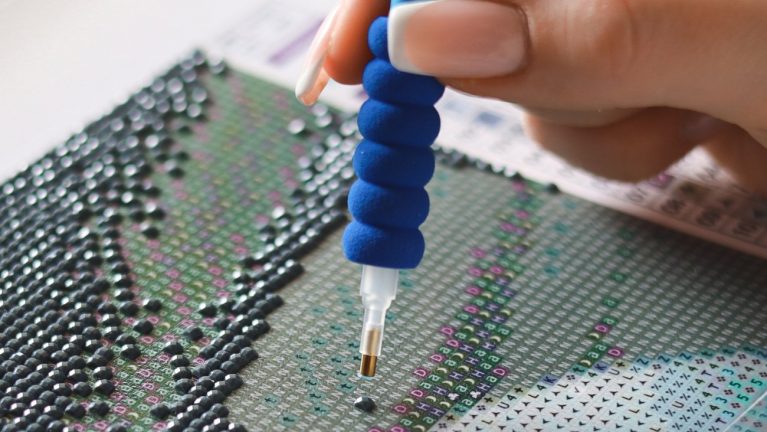

To begin with, take your Diamond Painting pen in your hand and try out whether you prefer to work with or without our additional foam grip. To do this, simply insert the pen into the blue handle. Then set the pen aside with or without the additional grip.
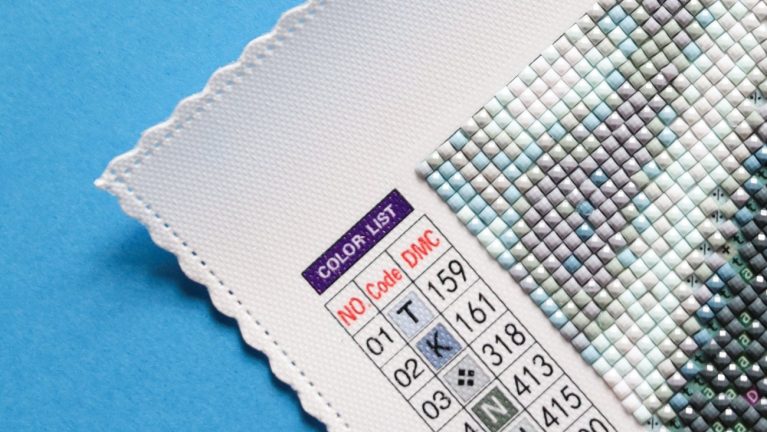

Now unroll your canvas and decide which corner you want to start your diamond painting on. Once you have selected the corner, look at the symbols printed on the small color fields. The symbols can be either letters, numbers or small characters. Decide on a symbol and look for this color using the symbol in the legend on the side of your canvas. The legend contains all the symbols used in the Diamond Painting and shows you a corresponding number for each symbol. You will find these so-called DMC numbers printed on all the sachets with the 5D diamond drills. Each symbol therefore stands for a color and the legend shows you which DMC number you need to look for on your sachets in order to use this color in the right place.
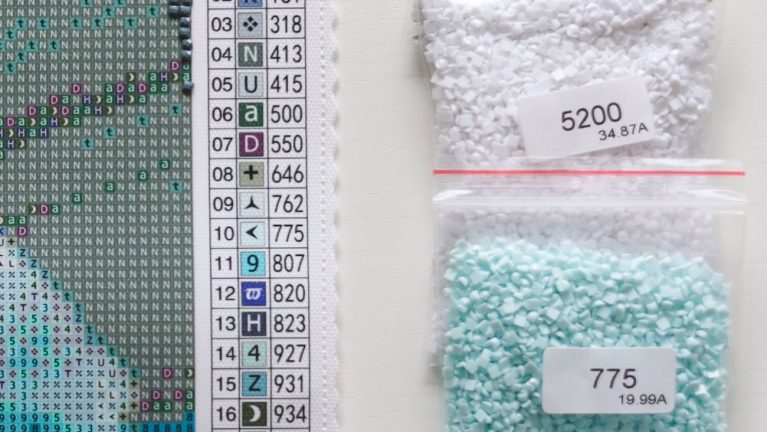

Once you have read the right DMC number for your chosen symbol from the legend, find the corresponding bag with this number and put it aside.
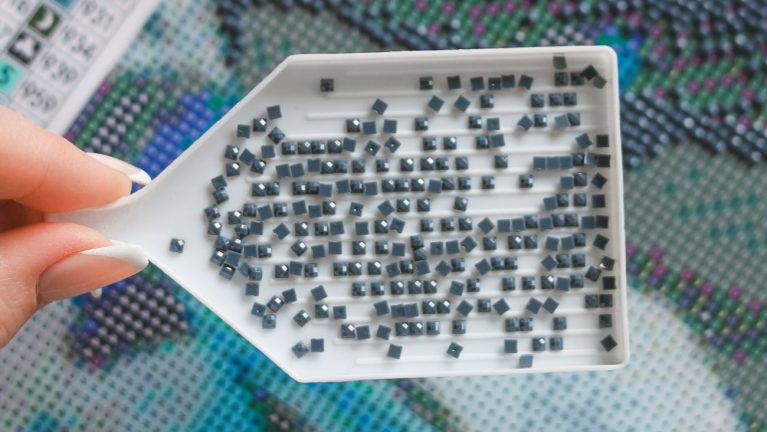

Now take your Diamond Painting bowl and have it ready to pour the diamond drills from step 3 onto it. To do this, open the bag - if it is not a zip bag, it is best to use scissors on one corner (opening max. 1.5 cm) - and pour a small amount of diamond drills into the bowl. Now you should shake the bowl carefully and gently so that the diamond drills arrange themselves between the slightly raised lines. You will see that the diamond drills begin to align themselves along the lines on the bottom of your Diamond Painting bowl. The majority of the diamond drills should now be aligned so that the top of the diamond drills are facing upwards and resting on the flat bottom part.
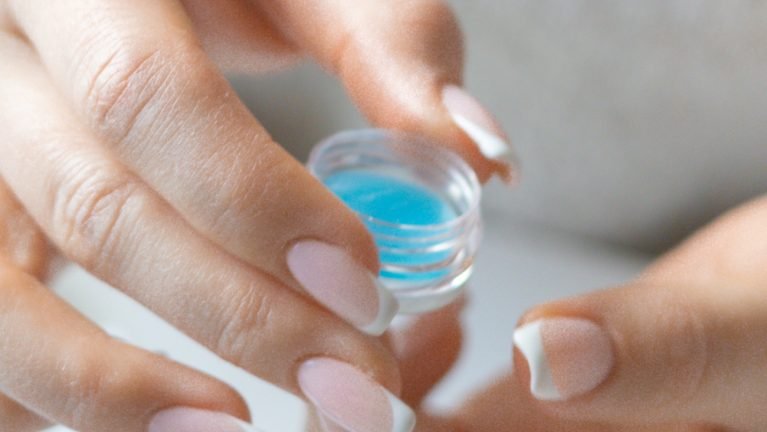

Next, take your jar of Diamond Painting wax. Unscrew the lid and remove the transparent protective film on top of the wax. Then place the tin at your workstation next to your pen and bowl. Incidentally, a table is best suited as a Diamond Painting workstation.
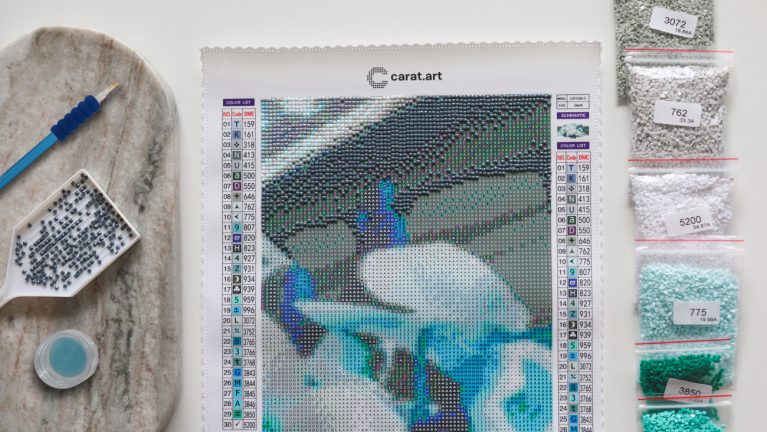

You now have everything you need to start your Diamond Painting at your workstation. As the canvas has been rolled for transportation, it will still try to roll back at first. You can use a book or something similar to hold the corners of your canvas in place.
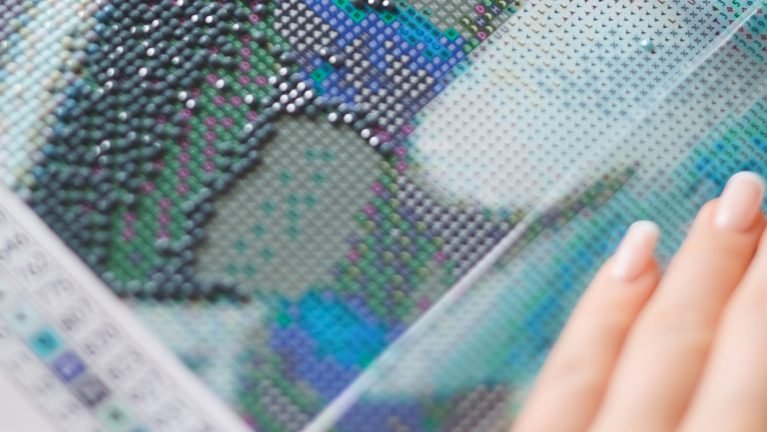

Now it's time to remove the protective film from the corner of your canvas selected in step 2. Please only cover a small area of your canvas at first. The clear masking film can be covered and uncovered again and again without being damaged.
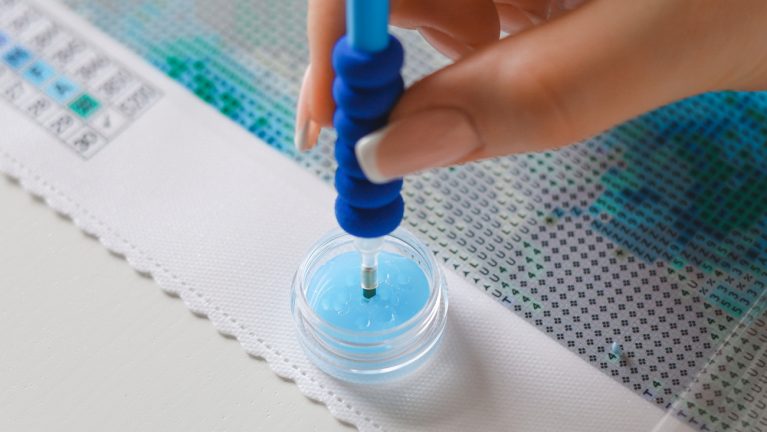

Now take your Diamond Painting pen in your hand and push it firmly into the wax. A firm penetration of your pen into the wax ensures that a sufficient amount of wax sticks to the cavity at the tip of your pen.
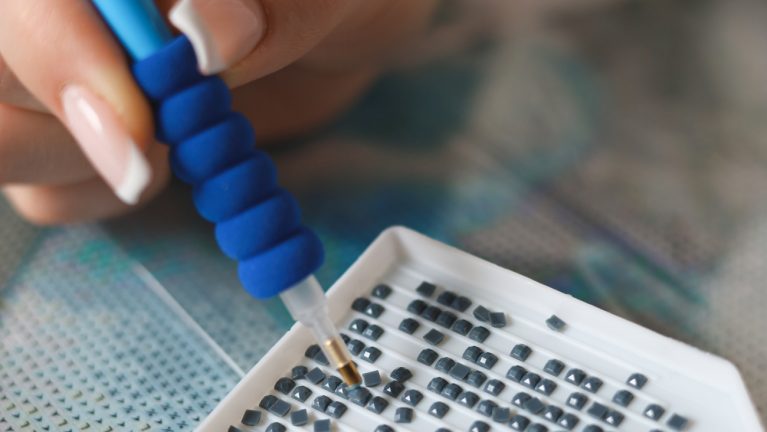

With the tip of the pen previously pierced in wax, you can now easily pick up the diamond drills individually from the tray and place them in the desired position on the canvas. The diamond drills will stick to the sticky canvas by themselves.
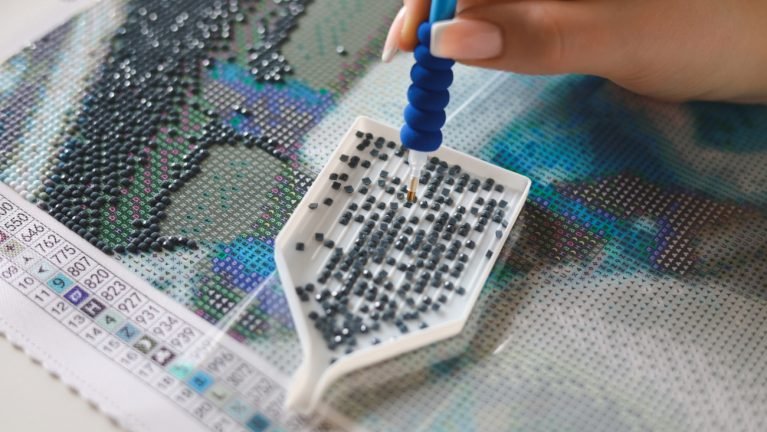

Once you have used up all the diamond drills in the bowl, you can refill the bowl and continue working until the entire uncovered area of the canvas is covered with the diamond drills provided. This creates a glittering diamond image drill by drill.
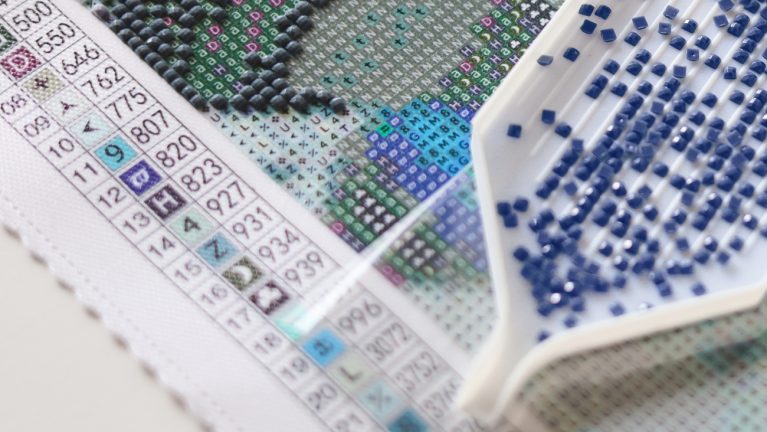

You can now repeat this process with other colors. Simply select a different color symbol that is best adjacent to the color used previously. Never mix colors in the bowl.
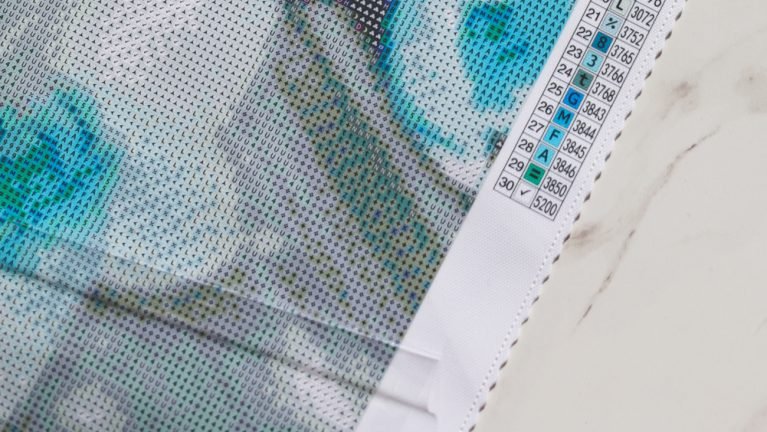

If you want to finish working on your Diamond Painting for the time being, you can cover the area that you have worked on the canvas with the protective film again and press on the previously placed diamond drills with your hand or a book to make sure that they are well attached. If you wish, you can cut off the part of the transparent film that is already completely covered with diamond drills.
Piece by piece and drill by drill, your work of art comes to life. Once you have covered all the symbols with the matching diamond drills, your glittering diamond painting is finished and, depending on the incidence of light, the 5D diamonds used will create ever new glittering and sparkling accents that will also make you shine.
In our Diamond Painting Shop you will find a large selection of Diamond Painting DIY sets, which you can use to create a unique work of art easily and without brushes. Start your Diamond Painting journey today and order your DIY 5D Diamond Painting. All our Diamond Painting Sets with status "available" are shipped directly from our warehouse in Germany, so you can enjoy them quickly without long waiting times. Your new project is just a mouse click away and will be at your home in no time at all. If your order value exceeds 40.00 € and your delivery address is in Germany, we will also cover the shipping costs for you. If you would like more information about our delivery times and conditions, simply click here.
And for even more diamond painting tips and tricks when creating your diamond paintings, we recommend our blog section, which contains many exciting and interesting articles on the subject of diamond painting.